
a 3-D birthday cookie, part 1 of 2
 My good friend's daughter was turning one and I needed to give this little girl a gift. Now, let me backtrack here for one minute. My good friend is Joy, aka Oh Joy!, and her daughter, is the super cute Ruby. Joy knows me well enough that I couldn't just buy Ruby something; I needed to make Ruby something - but what?
 When Joy was announcing that she was going to have a baby on her blog, our mutual friend, Tony, made her two wooden blocks: One with a '+' symbol, the other with a '1'. Ding ding ding ding ding! Eureka! That was something I could work with; instead of the blocks indicating 'plus one', it could symbolize 'turning one'.

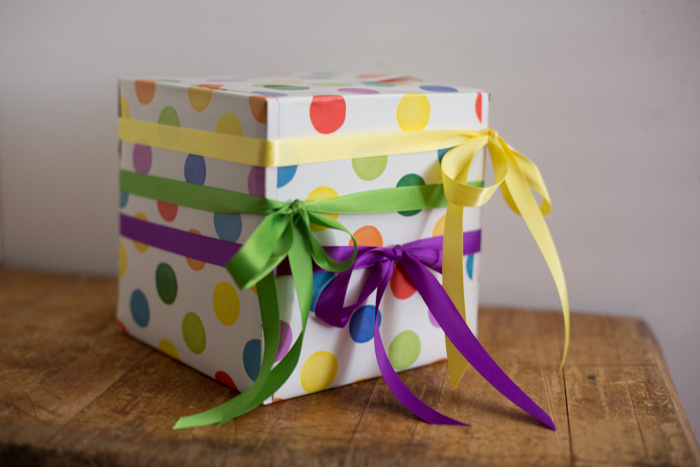
 I decided on a 6-inch cube because I wanted to be able to put something inside of it later, turning this 3-D cookie into an edible box. I didn't know what was going to go inside, but that would come to me later. I made the sugar cookie recipe in Martha Stewart's Cookies, adding orange zest like they suggested as a cookie flavor option. Since the cookie cutter size they used was much smaller, I increased the bake time by 10 minutes. As soon as the cookies came out of the oven, I cut off the "bulbous" parts, so the panels would be as square as possible for assembly.
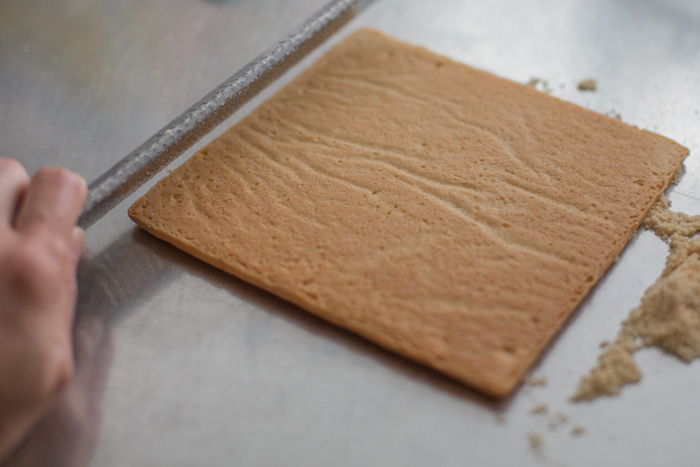
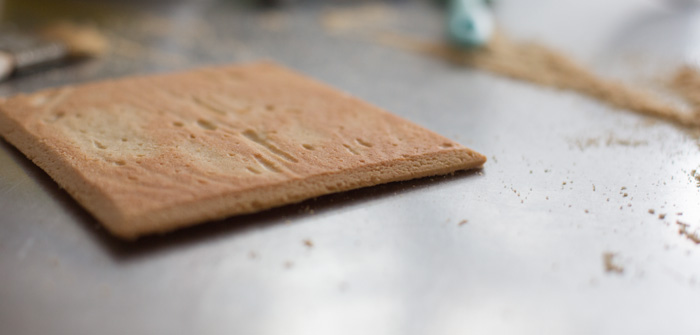 Wanting the cube to look very clean, I used my Microplane as it was originally designed: to file. I filed down the skinny edges from the inside so the cookie pieces would miter together.
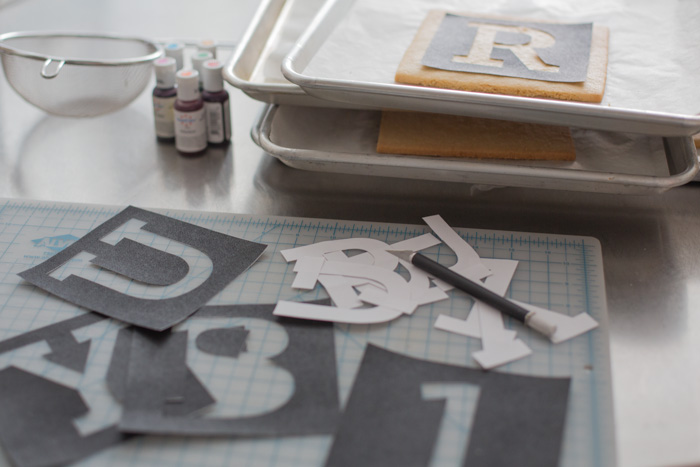
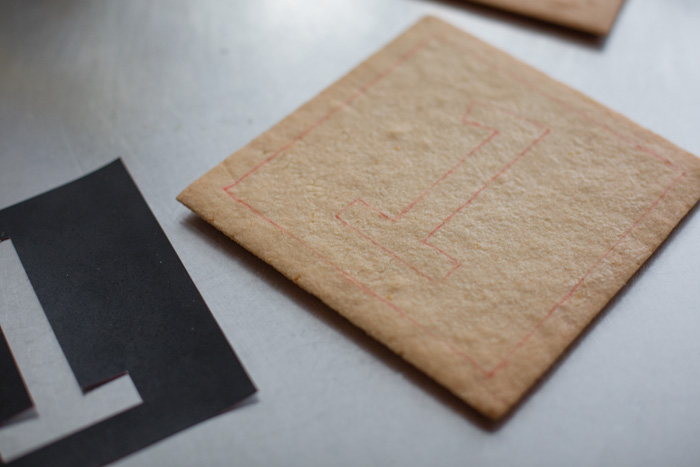 Referencing the blocks Tony made for Joy and Bob, I made five templates: an R, U, B, Y and a 1. The 1 was going to repeat twice. Tony used Garamond as his font but I didn't like the way the R looked so I chose Archer instead. The 1 had to be stretched since for whatever reason, in Archer, numbers are shorter than letters. Armed with a template and food coloring pen, the letters could easily be outlined on the cookies.
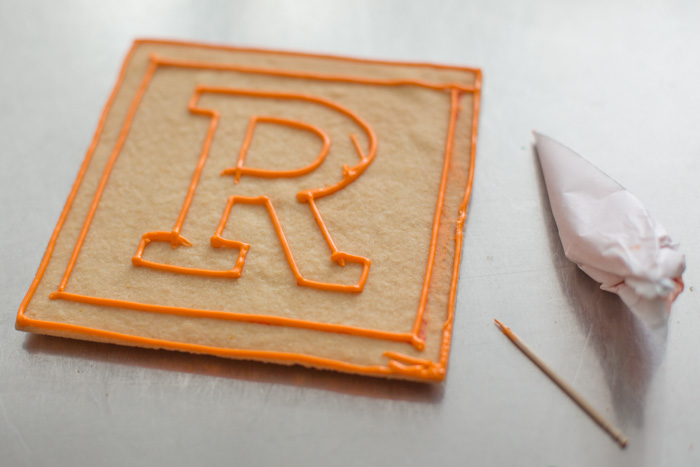 The royal icing recipe (as described in the Martha Stewart's Cookies book), made just enough for my project. Each panel needed less than 1/2 cup but I'd scoop out about 1/2 cup's worth. In this case, it's better to have a little extra than not enough. You don't want to be mixing another batch on the fly - chances are, the color won't be an exact match. Leave the majority covered with some damp paper towels and scoop out what you need. I piped an edge of icing and let it dry before flooding it with looser icing.
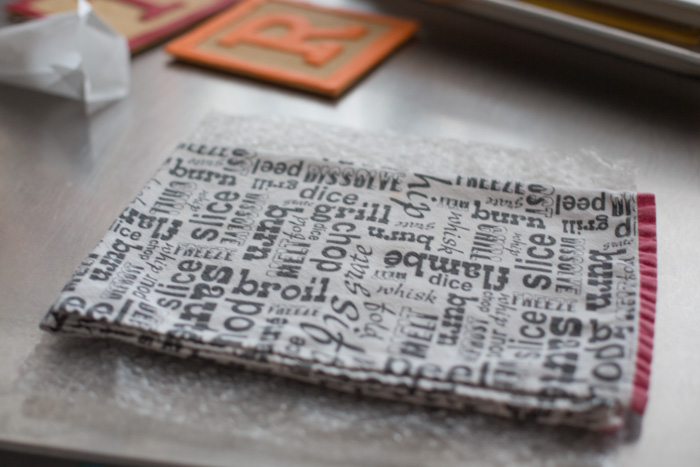 Once the icing was dry, I could start assembling the cube. Just in case the icing wasn't 100% dry, I put a piece of bubble wrap and a dishtowel under the bottom piece. This way, the icing would be cushioned from the weight of the other pieces. Since the edges were mitered, there wasn't going to be skinny cookie edges showing - which made for a cleaner-looking box. The remaining white icing was used to glue the pieces together - edges first, then a "caulking" bead on the inside. The decorative dots on the outside were used primarily to hide the seams. Before attaching the last panel, the bonus gift needed to be inserted.
Check back in a couple days for Part II!
(Photo of Joy & Bob by Bonnie Tsang, + 1 cubes designed and handmade by Tony Tharae)
 Permalink
Reader Comments