 One of the products I thought about making towards the tail end of my business was a s’mores kit. Who doesn’t love reminiscing about huddling around a beach bonfire or a crackling campfire? Young or old, it’s a primal pleasure.
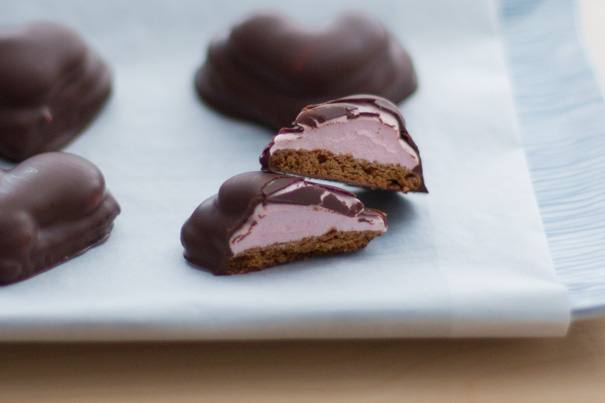 As Valentine’s Day approached, I planned on making s’mores for Mr. Mari but what I was craving was Mallomars: An all-in-one s’more. It’s a no-fuss, no-muss, no need to get out the blowtorch or broil it in a toaster oven marshmallow treat. I think what I love about Mallomars is its layer cake of textures. Your teeth snap through a thin chocolate-y crust, hit a spongy marshmallow filling and end up chomping through a good crunchy cookie base. Plus truth be told, I’d be the one making the s’mores not Mr. Mari. To make it more Valentine-y, I made these with a strawberry-flavored marshmallow filling. They're kinda like chocolate dipped strawberries but in cookie form - and Mr. Mari loves cookies.
This recipe yielded ten dozen treats. If that seems like too many treats (I played cupid and shared these with friends), cut the entire recipe in half.
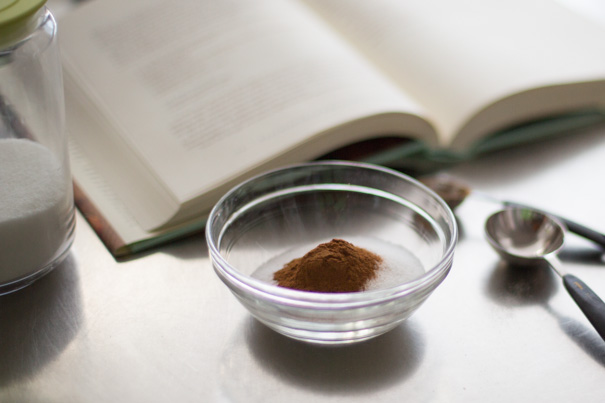
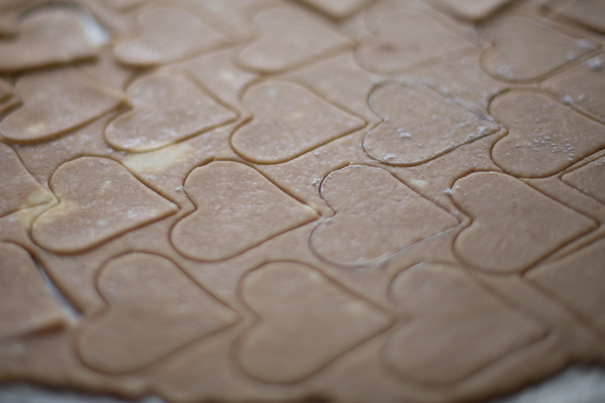

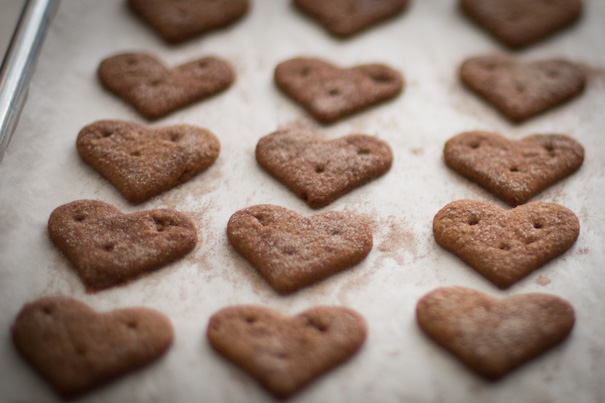 If you Google ‘graham cracker recipe’, you’ll see lots of people reference Nancy Silverton's version. With good reason, it’s a really good recipe. So instead of trying to come up with my own, I just used the one from her cookbook. I used a two-inch heart-shaped cookie cutter. Since my cookies were much smaller than the size she suggests, I changed the bake time from 25 minutes to 19-1/2 minutes. I’d omit the sugar/cinnamon topping next time too since the marshmallow didn’t adhere to the cookie very easily and the sugar flaked off into the melted chocolate while dipping.
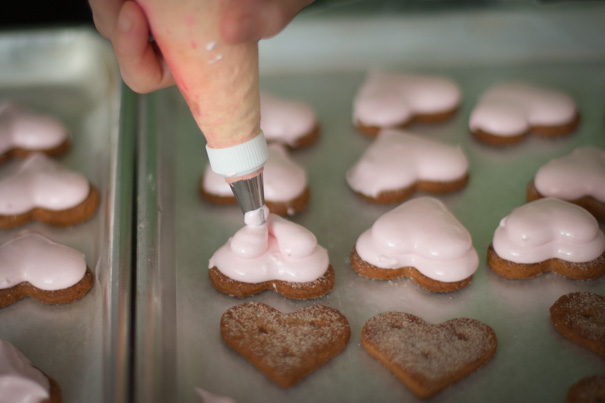
 To pipe the marshmallow filling, you’ll need a large pastry bag (14-inch), a 1/2-inch piping tip (Ateco #11) and a stand mixer.
STRAWBERRY-FLAVORED MARSHMALLOWS
2/3-cup strawberry jam
3-1/2 envelopes (2 tablespoons plus 2-1/2 teaspoons) unflavored gelatin
2-cups sugar
1/2-teaspoon table salt plus one large pinch
1-cup cold water, divided
1/2-cup light corn syrup
3 large egg whites, at room temperature
1/4-teaspoon strawberry extract, optional but definitely added a little extra strawberry oomph
2 drops red food coloring, optional but added a touch more pink to the marshmallow's color
Have your pastry bag fitted with the tip ready to go. Best if you have a pint glass or something tall to hold your pastry bag upright. Fold down the upper four-inches of the bag. Set aside. Have a finger bowl of water and a damp paper towel near where you will be piping.
Sprinkle the gelatin over ½-cup cold water. Let soften. If the gelatin doesn’t completely soften, sprinkle a little more water over the top. Set aside. Microwave the jam for 45 seconds to warm it up. Stir and set aside.
In a 3-quart saucepan, gently stir the sugar, 1/2-teaspoon salt, remaining 1/2-cup water, and light corn syrup together. Stir until sugar is wet. With a clean pastry brush, “wash” the sides down with clean water. This will rinse down any clinging sugar granules. Turn heat to medium-high. Attach a candy thermometer to the side (be sure it doesn’t touch the bottom of the pan).
Place egg whites in the bowl of a stand mixer. Start the mixer on low and beat egg whites until slightly frothy. Add the remaining large pinch of salt. Once the temperature on the candy thermometer reads 210°F (99°C), increase mixer speed to medium-high.
When the sugar mixture reaches 238°F (114°C) turn off heat and increase mixer speed to high. Carefully pour syrup in, trying to hit the sweet spot between the bowl and the whip. Avoid the whip as best as possible - it’ll make a colossal mess otherwise. Place used pot back on stove - but don’t turn on the heat.
Add the softened gelatin and jam to the used syrup pot and let them both melt from the residual heat. Whisk to blend. Slowly add the gelatin and jam mixture to the whipped whites. Add two drops of red food coloring and strawberry extract now, if using. Let whip for ten minutes.
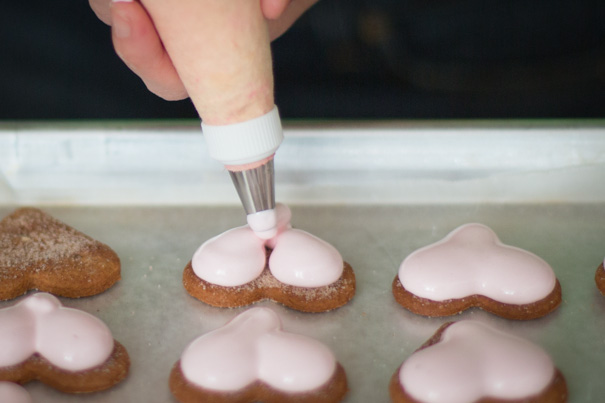
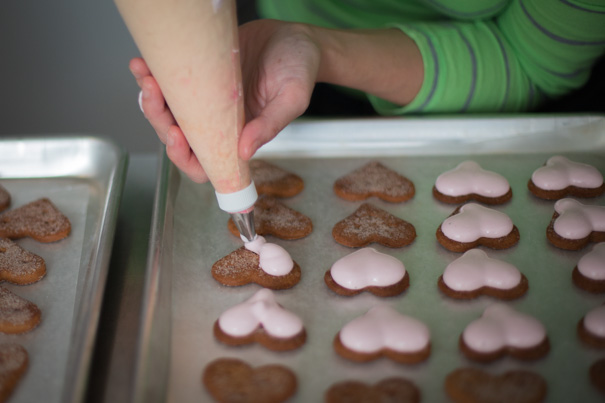 Quickly, transfer some of the mixture into a piping bag. Place the bowl back on the stand mixer and on the lowest speed setting. Pipe a large blob on one side of the heart, trailing towards the pointy end. Stay inside the cookie; the marshmallow will spread a little. Repeat on the other side. Continue piping twelve cookies.
 If it looks like the pointy end doesn’t look too pointy, use your finger to coax it into the point. Dip your sticky fingers in the water bowl to rinse. Wipe off the excess water onto the damp paper towel. Continue with the remaining cookies and then don’t touch them. They will be very sticky. Let them sit for at least two hours or overnight to firm up.
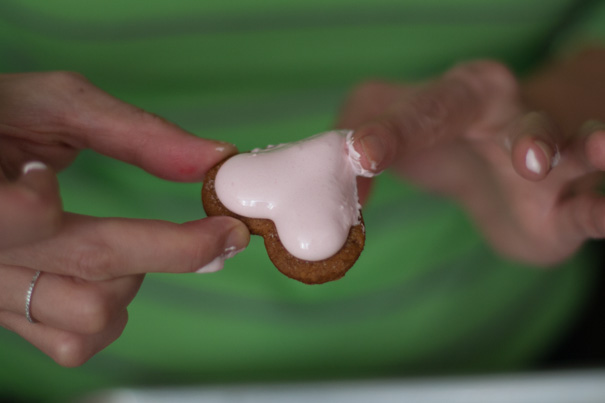
 The first bag of marshmallow goo was pretty soft so I went back over the first three-dozen cookies to have a generous layer of marshmallow. You may end up with more marshmallow than you need; I had a greased cookie sheet ready and piped some fun shapes. Let those firm up too.
CHOCOLATE COATING
2-pounds dark chocolate, chopped (60% cacao minimum)
1/2-cup cocoa butter or coconut oil
(If you need to add more, the proportion is eight-ounces chocolate to one-ounce cocoa butter or coconut oil)
Use a double boiler to melt 1-1/4 pounds of your chocolate. Be careful not to get any water (including steam) in your chocolate. Add coconut oil and stir to combine. Remove from heat when your chocolate has melted. Add remaining ¾-pound chocolate and stir until the melted chocolate thickens and the chocolate bits you added no longer melt. Remove the bits that haven’t melted.
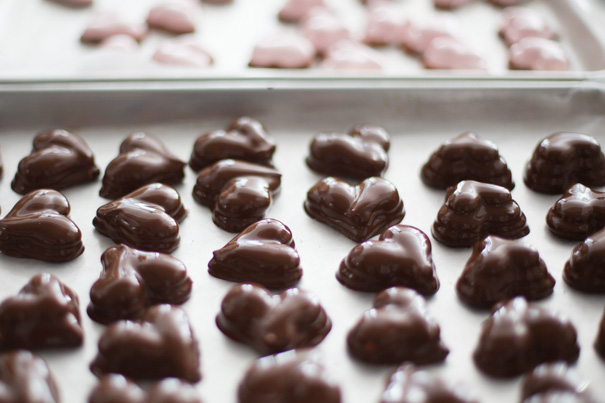
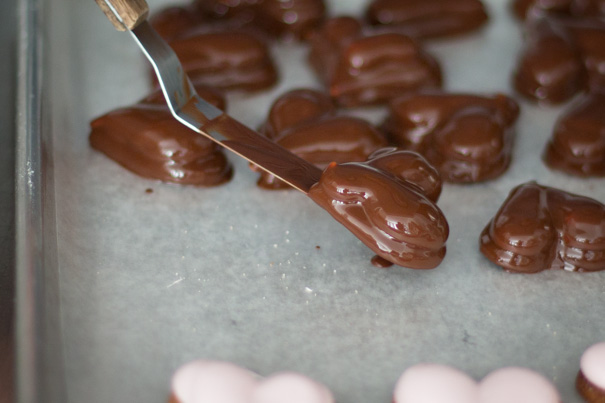 Drop a couple cookies into the chocolate to coat. Tamp off any excess chocolate and carefully place each cookie on your cookie sheet. Continue with the remaining cookies on a tray. Chill the tray in the fridge for ten minutes or until chocolate has hardened. You will have to gently reheat the chocolate after each tray. Enjoy!