hi there!

I’m Mari.
On Marivelous Me! you’ll find recipes, food gifts, food I’ve traveled for and food solutions. Poke around, maybe you’ll find inspiration for something you’re working on. Enjoy! 

recipes

Entries in fruit (7)

Tuesday
May142013

Watermelon Margaritas - ¡Muy Refrescante! 

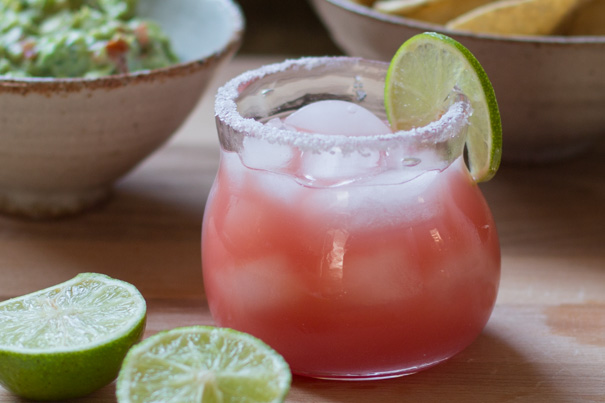
Last week, Hilary and Will, two of our good friends from New York were in town. They wanted to see our place before heading to dinner so of course I needed to make a snack. Having just come off of my avocado high, I thought it only appropriate to make guacamole for them. We needed something to drink too so how about some watermelon margaritas? Exactly. 

I took advantage of the simple syrups I made from my wacky candied fruit project but for this recipe I included an easy and clean tasting simple syrup. It makes more than you need for the recipe but depending on how many rounds you’re drinking or serving, you may need to double the syrup! You'll also have to add more or less simple syrup depending on the sweetness of your watermelon. I strained the blended watermelon juice but you don’t have to, but by taking out the blended seeds, which add bitterness, I think makes the drink that much better.

WATERMELON MARGARITAS
Makes 4 servings

1/2-cup sugar
1/2-cup water
Zest from one orange
Zest from one lime
1/2 small seedless watermelon, chilled
2-3 limes, juiced (about 1/2 cup) + 1 for garnish
4 ounces Herradura Blanco or any unaged tequila
2 ounces Combier L’Original or triple sec
Coarse salt, optional for garnish

In a small saucepan, heat the sugar, water, orange and lime zests over medium high heat. As it starts to boil, wash down the sides of the pan with a clean, water-wet pastry brush. Bring to a boil; reduce heat to medium and cook for 3 minutes. Remove from heat and cool to room temperature. 

While the simple syrup is cooling, remove the rind from your watermelon and cut into one-inch pieces. In batches, blend pieces in a blender until smooth. Line a strainer with some cheesecloth and strain the liquid into a pitcher. When it stops dripping, toss the remnants, rinse the cheesecloth and repeat if necessary.

Strain the simple syrup and press on the zest to extract as much of the flavor as possible.

Add the lime juice to the pitcher; stir with a wooden spoon. Add 3 tablespoons of simple syrup. Taste and adjust syrup to your liking. Put it in the fridge until you’re ready to serve. Slice the remaining lime (zest’s still attached!) into 1/8-inch slices. Cut through the rind on one spot. Set aside.

For salt rimmed glasses:
Pour a teaspoon simple syrup into a small dish. Add a teaspoon of water and stir to combine. In another small dish, add some coarse salt. Take a glass and dip it into the simple syrup dish. Let any extra drip off and then dip the glass into the coarse salt dish. Tamp the side so any excess salt falls off. 

Fill glass with ice. Add one ounce of Herradura Blanco and 1/2-ounce of Combier L’Original. Top with watermelon juice. Add a lime wheel garnish. Make the other three and enjoy!

Note: You can easily make this into a non-alcoholic refresher. Simply omit the tequila and triple sec. Fill the glass with ice, 2/3-full of watermelon juice and top it with some soda water. Add a lime wheel garnish, presto! Muy refrescante! 

Wednesday
May012013

Almond Milk and Kahlua Panna Cotta w/Macerated Blackberries

Since Mr. Mari and I are still trying to lose our Freshmen Ten, dessert is usually a no-no. Perhaps it’s the bartending course I’m taking that’s getting me thinking about different alcohols and their uses but I thought, hmmm… almonds and coffee go together, why not combine the two? The boozy hamster is on its wheel…

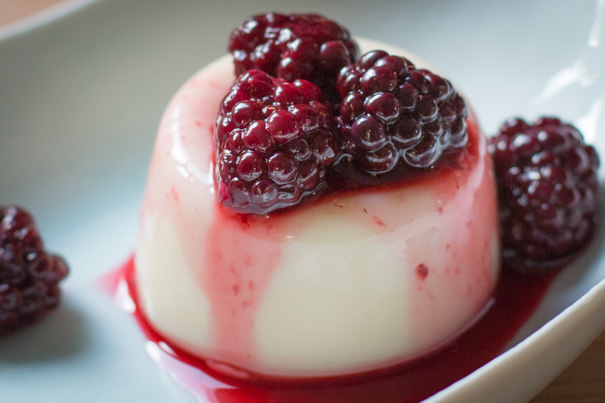
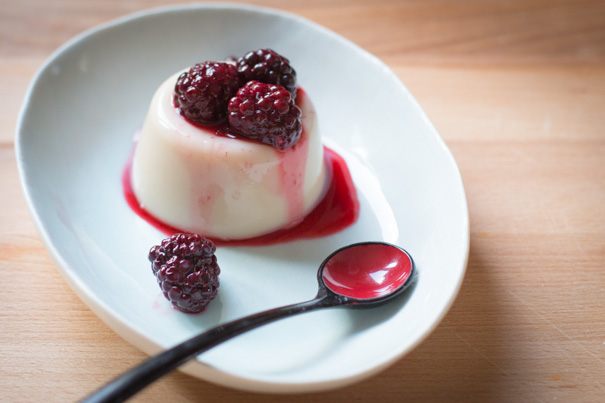
Presenting: The almond milk and Kahlua panna cotta with macerated blackberries! Panna cotta’s a fancy way of saying cream-based gelatin (actually in Italian it literally means cooked cream). Cooked jello cream definitely sounds gross, meanwhile panna cotta sounds so fahncy and laborious (which it's not)! You could totally skip the macerated blackberries and just eat the panna cotta but it presents much nicer for photos and company with them. Using almond milk will yield a much lighter than traditional panna cotta and since Mr. Mari and I are lactose intolerant, almond milk is our "dairy" of choice at home. 

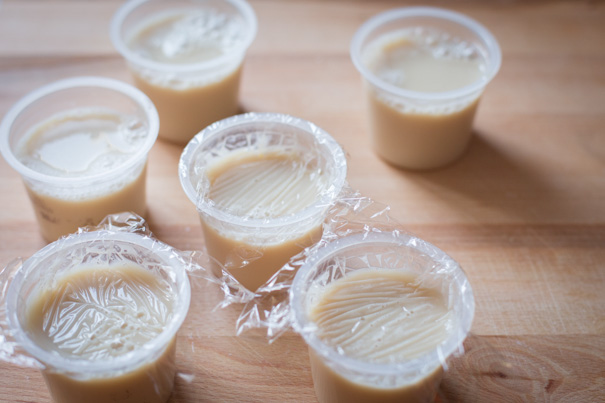
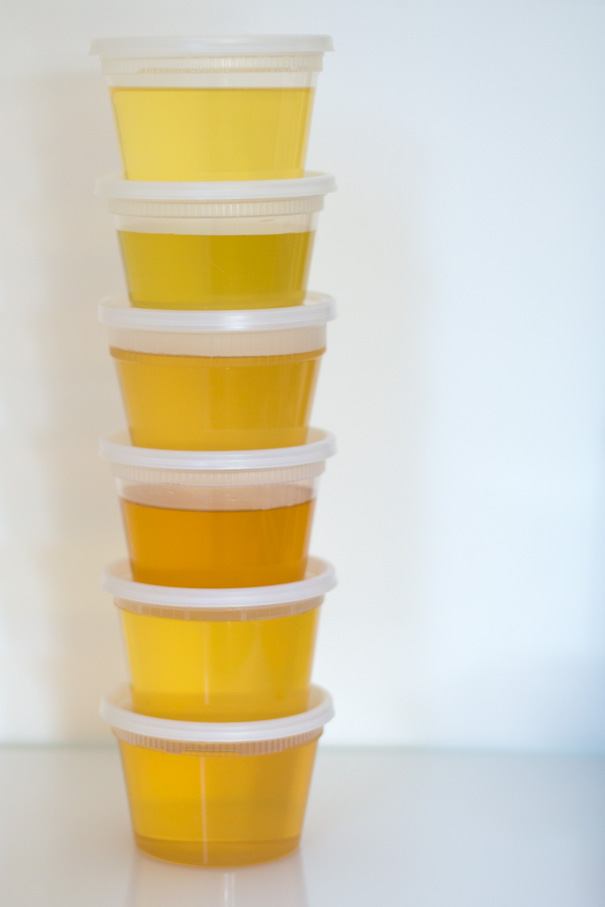
I made my recipe in little flexible plastic cups so I didn’t need to grease the insides. If you use anything else, use a little neutral flavored oil on a paper towel to grease the inside.


MACERATED BLACKBERRIES
makes one cup 

1-tablespoon agave nectar
1/8-teaspoon lemon juice
1-cup blackberries, rinsed 

Put agave nectar and lemon juice in a non-reactive bowl. Stir to combine. Add blackberries and toss to coat. Let sit for 30 minutes at room temperature. Smash two blackberries using the back of a fork. Toss again to coat. Set aside.


ALMOND MILK & KAHLUA PANNA COTTA
makes 6 servings, 5 if you want to be piggy
Adapted from David Lebovitz 

2-tablespoons Kahlua
1-teaspoon almond extract
1-tablespoon water
1 packet gelatin
2-cups almond milk
3-tablespoons agave nectar

In a medium-sized bowl, pour in the Kahlua, almond extract and water. Sprinkle the gelatin on top and set aside.

In a small saucepan, heat almond milk and agave syrup. When mixture comes to almost boiling, remove from heat. Let it sit for one minute before pouring on top of the gelatin mixture. Stir to combine and let come to room temperature. Pour into individual cups. Press plastic wrap onto surface and chill in fridge until firm.

To serve, warm each cup in hot water just until it releases. Place plate on top and invert. Spoon a few blackberries and a tablespoon of syrup on top. Enjoy! 

Monday
Apr082013

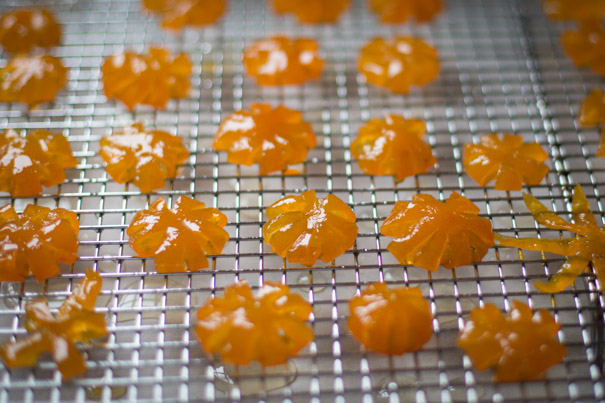
Candied Kumquat Rosettes

This is the second post in a three part series. To see the first post, click here.

I only needed a couple kumquats for the candied flower project so I had a bunch leftover. Instead of candying just the peel, I decided to candy the entire fruit, turning them into little candied rosettes. Since I was giving these kumquats as a gift, I also needed to figure out a way to package them, a la Mari.

Click to read more ...

Wednesday
Apr032013

A Candied Citrus Flower aka A Wacky Project

I admit it; some of my ideas fall on the wacky side. I’ll fixate on a concept, get really really excited about it and make it - jumping in with both feet instead of baby stepping it and doing a trial run. Sometimes I’m super happy and proud of the results. Other times, I’m surprised and a little frustrated that it didn’t work.

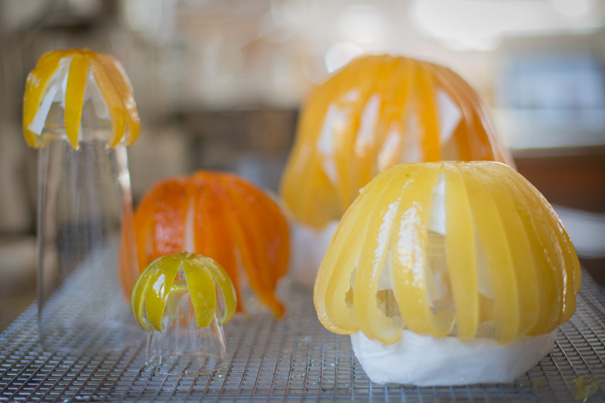
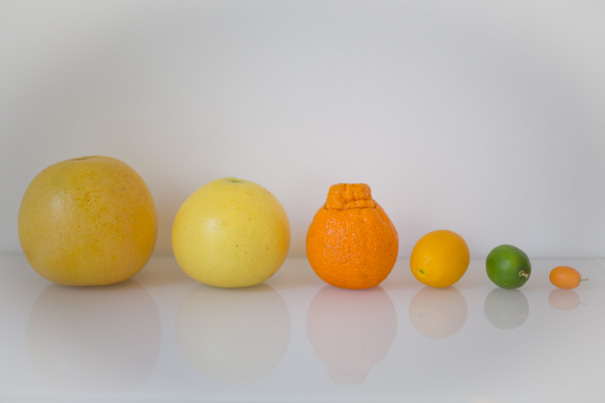
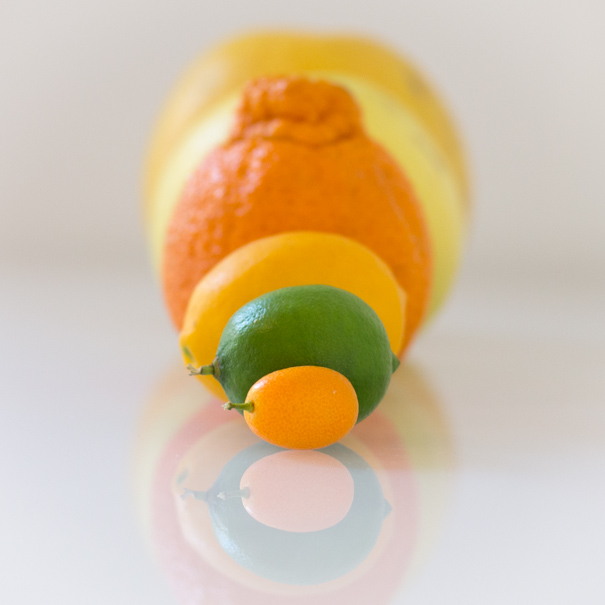
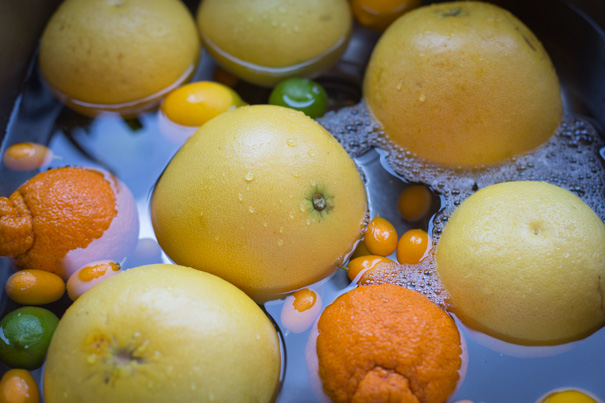
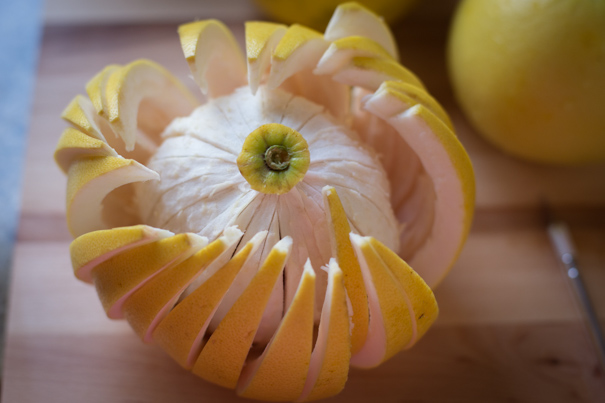
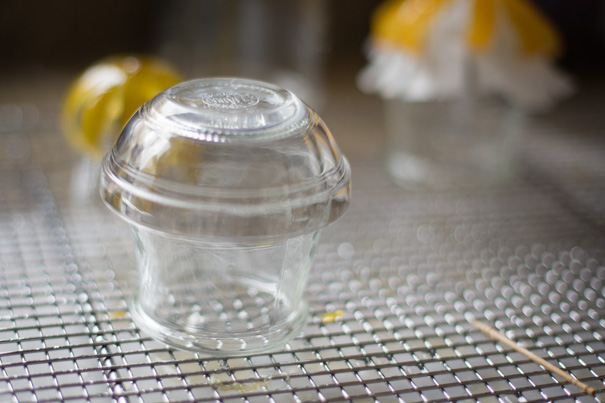
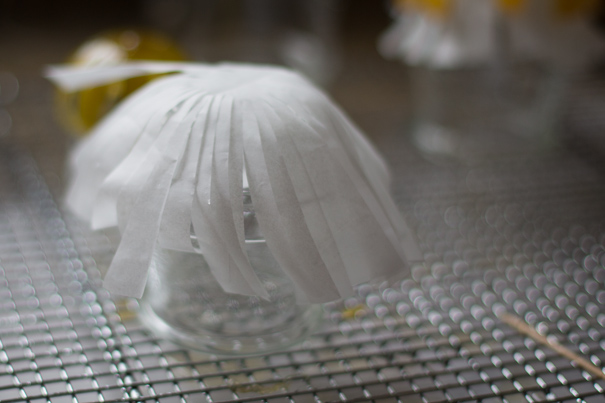
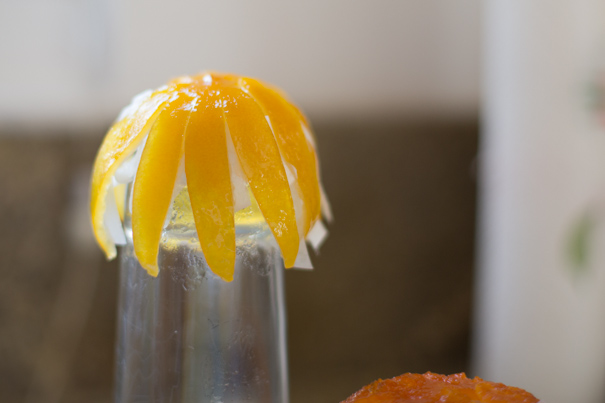
Being surrounded by fresh citrus, I had this idea of making a candied citrus flower using different sized fruits to create concentric petal rings. Instead of cutting the peel into individual strips, I’d just cut the peel into thin segments, keeping all the strips attached at the base and then shape/dry the candied fruit on inverted bowls. How long could it take? Meh, 3 hours - tops! It didn’t even cross my mind that it wouldn’t work.

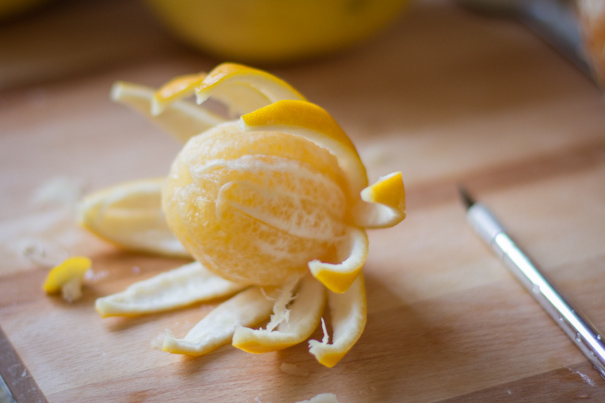
By cutting the petals close to the base, the connection was very narrow. I thought this would net a much more realistic flower. What I didn’t realize was the weight of the simple syrup combined with the fragility of that thin connector would be enough to tear a petal off. Once a petal’s missing, the flower looks broken and wrong. To salvage this project that took not three hours but three days, I just tore all the petals off the lemon, orange, grapefruit, and pomelo flowers and tossed them in sugar. The limes and kumquats remained intact enough to make a mini flower (check back for the follow up to this idea).

The wacky project may not have turned out exactly how I intended but all the candied peels were still tasty. AND, not only do I have fresh squeezed juice in the freezer but I have lots of delicious simple syrups at the ready to make a lightly flavored homemade soda, to drizzle over some fruit or add into a cocktail. I’d say this project was a roaring success. 

If you plan on making more than one fruit flavor, cook them separately to keep the flavors clean. The below recipe is for just one fruit but since it takes a bit of effort, I’d make at least 2 grapefruits, 3 oranges or 4 lemons at a time.

CANDIED CITRUS PEEL
Citrus fruit of your choosing
1-cup sugar plus additional for coating
Cold water

Cut the rind into eight segments, from pole to pole. Carefully peel the rind off. Save the fruit for a different use. Cut the peel segments into thinner pieces, each piece being no more than a quarter-inch wide. Put them in a small pot and cover the pieces in cold water by one inch. Bring the water to a boil, lower the heat to a simmer and cook for ten minutes. Drain the water and repeat this step two more times. Drain well.

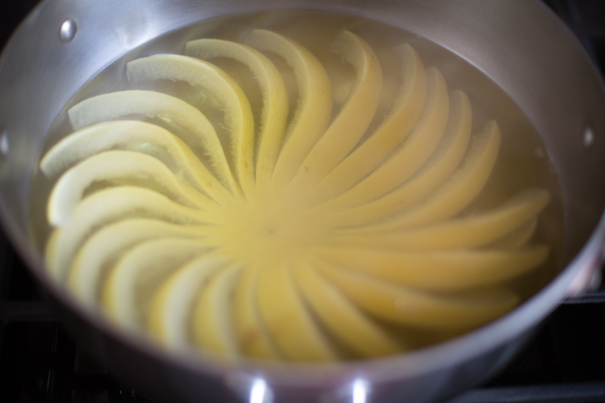
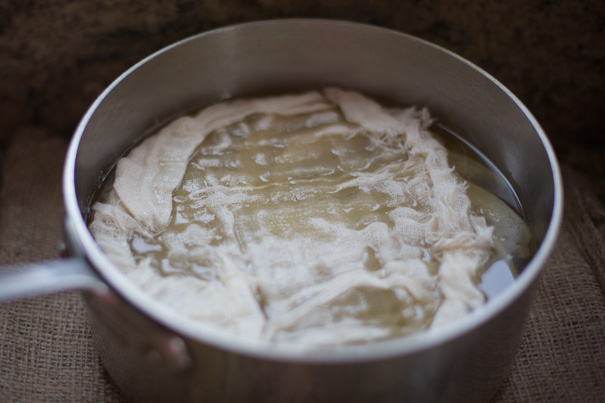
To candy the peel, you’ll need one cup of water per cup of sugar. You’ll want to cover the peel by half an inch so add a cup of cold water at a time until covered. Add the same number of cups of sugar. Bring the mixture to a boil; do not stir but wash down the sides of the pot with a clean brush dipped in water a few times to ensure there are no sugar crystals sticking to the sides. Lower the heat to medium low and cook for 45 minutes. Remove from heat and let it sit for 8-12 hours or overnight, covered with a cloth. Bring the mixture to a boil, lower the heat to medium low and cook for an additional 45 minutes.

Meanwhile, place a wire rack on the counter with enough waxed paper beneath it to catch any potential drips. Carefully strain a few pieces at a time; place on wire rack, pith side down, keeping them spaced apart. Let dry for 8 hours.

Pour some sugar to a small bowl. Add a few pieces of candied peel at a time to the bowl and toss to coat. Tamp the excess sugar off. Store the candied peel in an airtight container. Enjoy!

Strain the sugar syrup to remove any stray bits of peel. Store in the fridge. It should be used within one month. Enjoy #2!

Gilding the lily: Dip one end of the candied peel in melted dark chocolate and place in fridge for 10-15 minutes to firm up.

Really gilding the lily: Finely chop some pistachio nuts. After dipping the peel in chocolate, dip it in the chopped pistachios. Chill in fridge for 10-15 minutes or for as long as you can wait. 

Friday
Aug032012

a fruit bowl


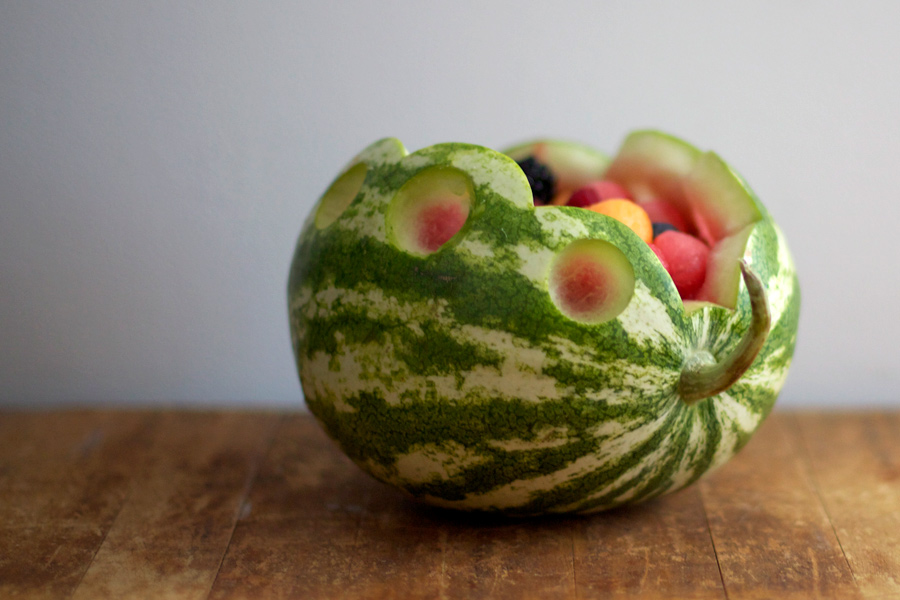
When I cook for friends that can't eat certain things (gluten, dairy, sugar, peanuts), I try to be accommodating. It's easy when I'm home but when I need to bring something to an office, based on Edible Arrangements success, I'd say fruit baskets are a good alternative. Since mini-watermelons are so prevalent now, it's easy to make a cute little arrangement.

Click to read more ...

Friday
Jul272012

peach, plum & blueberry pie

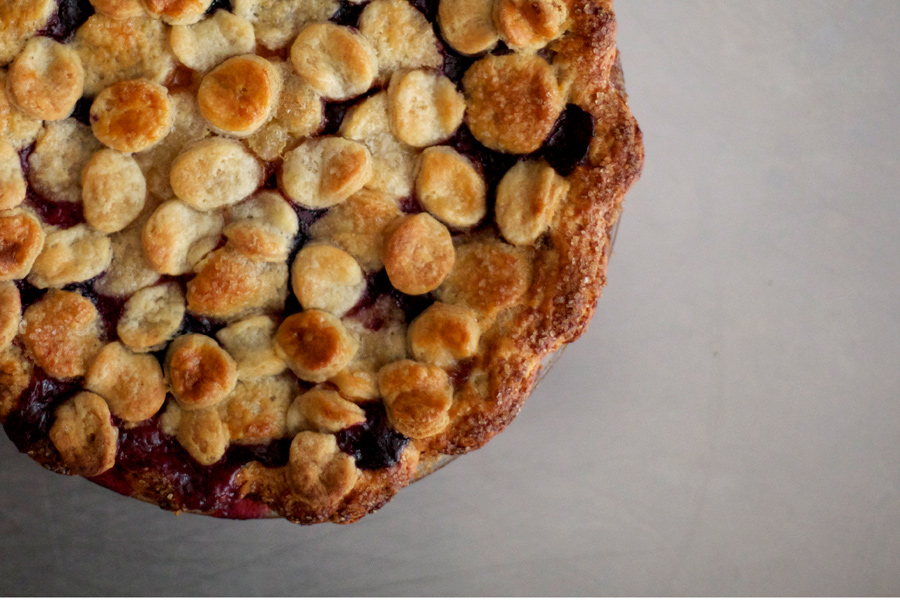
Pie. I don't know anyone who doesn't like pie. Especially pie made with peak-season fruit, fresh from the farmers market. Last week, I made two: one with peaches, plums and blueberries; the other was with peaches and blueberries. Happy belly? You betcha.

Click to read more ...

Friday
Jul132012

roasted figs + Gorgonzola + prosciutto

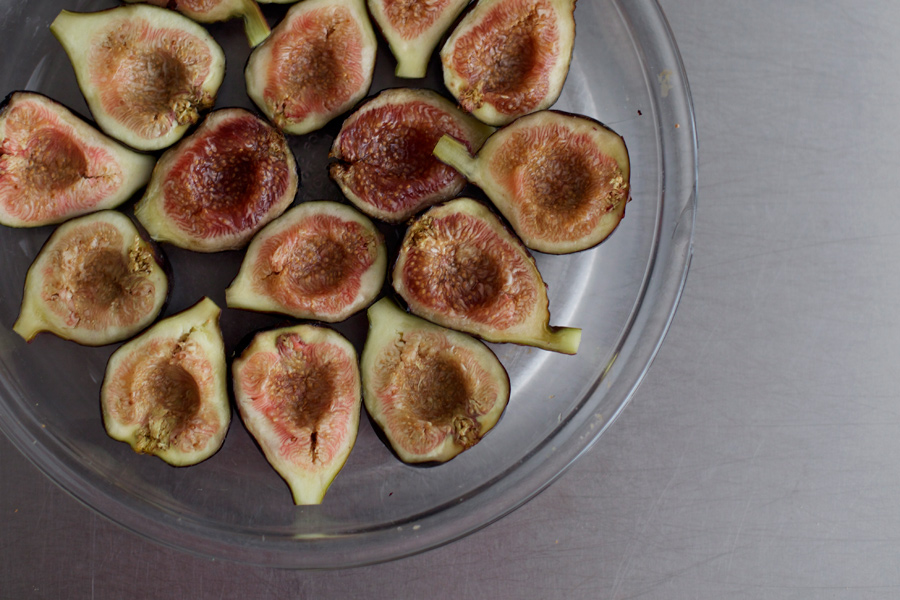
Hilary asked me to make an hors d'oeuvre for our dinner. Initially, I was torn between two: tomato bruschetta and roasted figs. When I asked her if she owned a toaster oven, and the answer was no, I thought the tomato bruschetta won. But she enthusiastically told me she loves figs so I had to make both - and bake the figs in the oven instead.

Click to read more ...